Context
TLDR; Battery life on the G14 has always been a struggle, on Windows or Linux, but we can improve it. I’m using Aurora but this should apply to all modern Linux distros.
Hi! After letting my laptop live a long and peaceful Windows-life, I wanted to finally make the switch to Linux for this great machine. I’m already familiar with Linux, having used it for my studies, professionally, my HomeLab.. I used to go for the more familiar Ubuntu/Linux Mint/Debian distros, but this time I wanted to give Fedora a try.
![]()
I’m not going to detail the steps to install Aurora itself on the laptop, there are plenty of other resources covering this extensively. And this laptop is no different when it comes to dual-booting. What I wanted to cover in this post is a pain point many have encountered, initially on Windows but also once having installed Linux: battery life.
The G14 was marketed as a long battery life gaming laptop, which was a killer feature at the time! But there was a catch: the software quality was (is!) inferior to the hardware quality. After a few BIOS updates, the status quo seemed to be:
- battery drain could go under ~-7w with no workload
- suspend would cause a much higher battery drain when resuming. Only hibernating or rebooting would allow a low battery drain
Switching to Linux unfortunately comes with the same symptoms: the battery drain would remain high out of the box, also causing the fans to kick in permanently..
I’m going to share here two ways you can reduce this energy consumption to reach reasonable levels (~-8w).
DISCLAIMER: I’m not responsible for any damage resulting from the use of this guide and the suggested tools. USE AT YOUR OWN RISK
Turning off the Nvidia GPU
The model I have comes with a RTX 2060 Max-Q. To be honest, I don’t use it much anymore, thanks to getting Steam Deck. So personally I chose to disable it altogether, but with user-friendly tools to restore it whenever I would need it.
(Option 1) Using supergfxctl
Initially I used Bazzite on this laptop as well, before switching to Aurora. Under Bazzite, I could properly switch to integrated graphics with the pre-bundled supergfxctl, courtesy of asus-linux. Of course this assumes you picked the asus flavor when grabbing Bazzite!
sudo supergfxctl -s integratedand logging out. This could even be handled via a KDE widget!
Unfortunately I could not get it to work properly on Aurora. Upon logging out, SDDM (the lock screen display manager) would crash, forcing me to manually restart from the TTY with a dirty state for supergfx. Also, the supergfxd service it uses would often become unresponsive and unkillable.
As said before, I don’t have much use for the Nvidia dGPU anymore; so having to reboot to enable it is not a real problem in my case. Hence the second solution here that I effectively use.
(Option 2) Using envycontrol

supergfxctl, the major downside is that envycontrol will rebuild initramfs which can take a few minutes, then require a reboot to apply the new GPU mode.
To install it, follow envycontrol’s documentation. Once installed, run:
sudo envycontrol -s integratedto use only the AMD integrated iGPU. In our case with the Aurora installation, it will add a layer to our image, effectively disabling the Nvidia dGPU. After a reboot, one can check that the mode is correctly set by querying:
sudo envycontrol -q
integrated
This was fairly simple, and you should already hear the silence coming out of the GPU fan! If you want to go even further and control the behavior from the task bar, you can install the optimus-gpu-switcher widget to get a nice toggle directly accessible from your task bar.
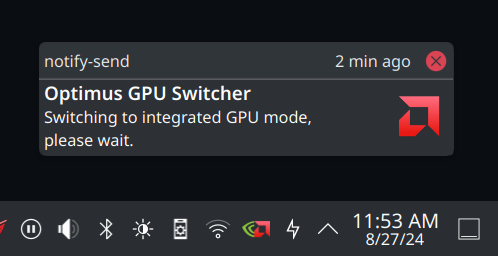
the optimus-gpu-switcher widget
But we can further improve the laptop’s battery life with this next tweak.
Enabling the AMD PState EPP scaling driver
Scary name isn’t it? We’ll try to keep it simple.
Modern AMD CPUs support a new performance scaling driver, called amd-pstate, that provides finer grain frequency management than the default ACPI driver. This driver allows the Linux kernel to directly communicate performance hints to the hardware. If you want to read more about this topic, you can read the corresponding kernel.org page.
Now if you have asusctrl installed and especially dug into the rog-control-center UI, you would have already noticed that you can tweak in the System Performance Settings the EPP hints; that does nothing unless you activate the amd-pstate driver we have been talking about.
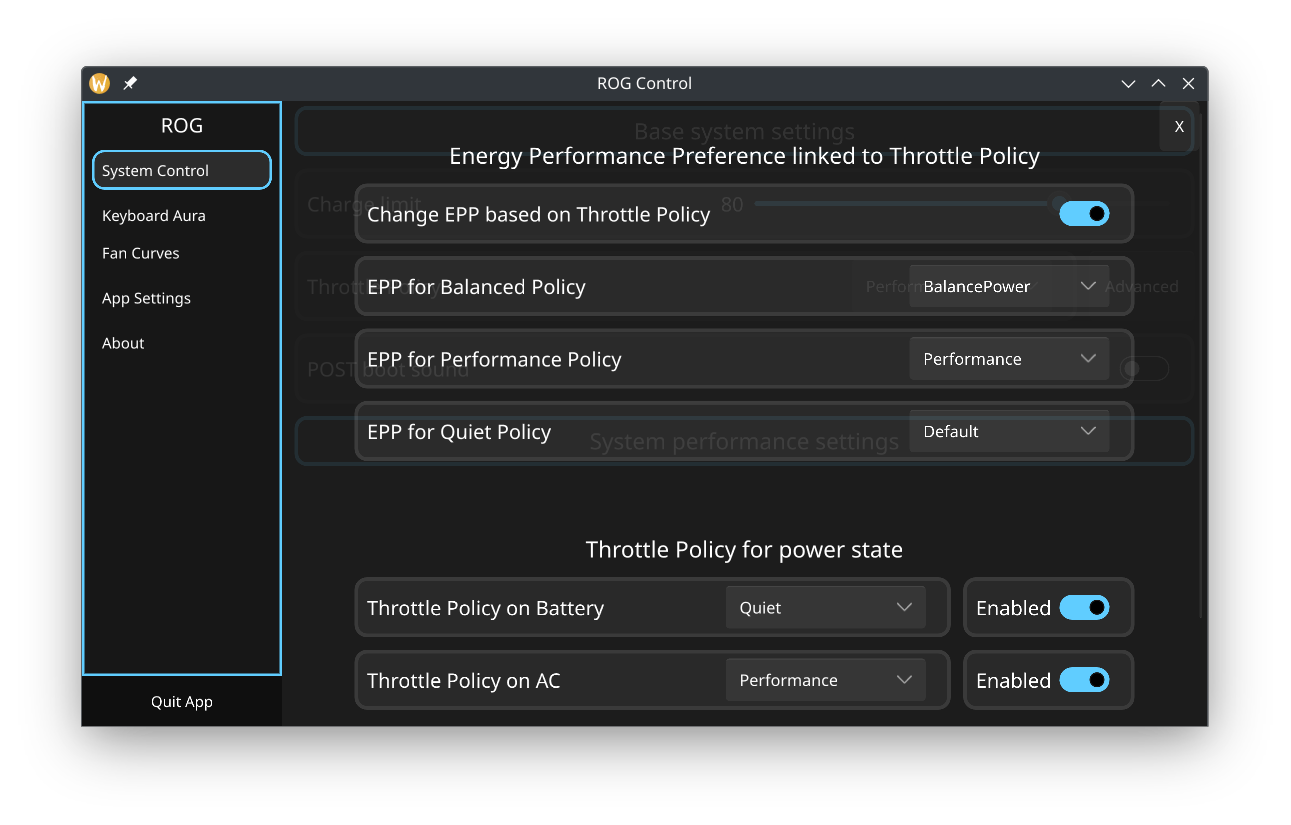
EPP settings under System Performance Settings
And that’s what we’re going to do!
Enabling CPPC
First, we need to enable the Collaborative Processor Performance Control (CPPC) in the BIOS. This option is unfortunately not exposed by default in Asus’ BIOS, so we will be using a BIOS Flasher, Smokeless_UMAF to enable it.
Again usual disclaimer, this step makes you use a powerful tool that could brick your computer. Make sure to have a method to recover your device if anything goes wrong and use at your own risk. That being said, several users on Reddit and Lemmy have been using this tool to enable the feature we want without any problem. Just make sure to read Smokeless_UMAF’s README and understand what you are doing!
Follow Smokeless_UMAF’s documentation to boot into this BIOS Flasher. Once you are in, you will need to browse to Device manager > amdcbs > nbio > smu > cppc and go for enable.
Once done, reboot back into your Linux installation. The scaling driver should have already been loaded, you can check with:
cat /sys/devices/system/cpu/cpu0/cpufreq/scaling_driver
amd-pstate-epp
If you get acpi-cpufreq, that means the legacy driver is still in use. The next step may fix it, otherwise make sure you enabled the right option using Smokeless_UMAF.
Set the AMD p-state driver’s mode
Some guides say that this step is mandatory to use the driver, but I personally found that the driver was already loaded without. Nonetheless, it is better to make sure the driver’s mode is set to your liking.
This awesome Lemmy post details what the options are and I’ll copy the excellent documentation here:
Passive Mode
amd_pstate=passive
When you set
amd_pstate=passive, the processor aims for a certain performance level relative to its maximum capacity. Below a specific point, the performance is average, while above it, the performance remains at its best.
Active Mode
amd_pstate=active
Setting
amd_pstate=active gives low-level control to the processor’s firmware. It can prioritize either performance or energy efficiency based on software hints AND the amd_pstate_epp driver. The amd_pstate_epp (Energy Performance Preference) driver provides the firmware with a hint. On most AMD CPUs, these hints are:
defaultperformancebalance_performancebalance_powerpower
Guided Mode
amd_pstate=guided
Choosing
amd_pstate=guided lets the platform automatically select a suitable performance level within a given range based on the workload.
I would recommend going for the
amd_pstate=active mode since it would benefits from the power hints configure in the ROG control center app.
To change the mode, we will need to add the chosen kernel flag. In the case of Fedora Atomic desktops, this can be done by calling
rpm-ostree kargs --editorand appending
amd_pstate=active if it’s not already there. After the command completes, reboot your laptop. You can check again with
cat /sys/devices/system/cpu/cpu0/cpufreq/scaling_driver
amd-pstate-epp
that it is using the correct scaling driver.
You can now have a look at the energy consumption; you can use the System Monitor app, CLI tools, a KDE widget on the task bar etc.. You should notice that the energy consumption under the energy saving mode and idle load should now gravitate around smaller values (~7w in my case).
You can also monitor your CPU cores frequencies and check that it goes as low as 400MHz under idle load, and as high as 4000MHz (depending on the CPU):
watch -n.1 "grep \"^[c]pu MHz\" /proc/cpuinfo"And that’s it for today! Enjoy your extensive battery life on your G14. A follow-up configuration to save even more energy would be enabling hibernation, but that’s a completely different topic that would require its own guide.
Here are some links for references on the topics that were covered in this guide:
- asus-linux/supergfxctl: https://gitlab.com/asus-linux/supergfxctl
- bayasdev/envycontrol: https://github.com/bayasdev/envycontrol
- amd-pstate CPU Performance Scaling Driver: https://www.kernel.org/doc/html//v6.7-rc2/admin-guide/pm/amd-pstate.html
- AMD P-State and AMD P-State EPP Scaling Driver Configuration Guide: https://lemmy.world/post/3081149
- Reddit thread about enabling AMD PState on r/ZephyrusG14: https://www.reddit.com/r/ZephyrusG14/comments/16vf3z2/2020_zephyrus_g14_linux_high_temperatures_while/